Updates are now available for both Sparkbooth Layout Creator and Photo Kiosk. Both these applications are part of the Sparkbooth Commercial Suite of applications, and are great complements to Sparkbooth. If you have an Commercial license you can use your activations to unlock them.
Sparkbooth Layout Creator is a visual editor for creating your own layouts to use in Sparkbooth. You can create layouts for a variety of paper sizes, photos, and customize the background and overlay images. This update is the initial 1.0 release. Changes include cleaned up UI components, and added option to toggle guidelines that divide the paper vertically and horizontally.
Sparkbooth Photo Kiosk allows you to setup a separate station for your guests to browse, print, and upload photos to Facebook or Twitter taken by your photo booth. Just network your photo booth and kiosk computers together, and point Sparkbooth Photo Kiosk at the shared folder where your photo booth saves photos. This minor update improves the text and instructions.
Check out A1 Photo Booth's "Unofficial Sparkbooth Layout Library". Joe has created this site as central place where Sparkbooth users can browse, download, share the layouts they have created. There are layout backgrounds, overlays, and SBL files created with the Sparkbooth Layout Creator.
Your client that wants a landscape layout with 3 photos as shown below.Layout example
As you can see this requires a background image and a overlay of a girl. So the client has the background image and a photo of his son to be used.Client's background imagePhoto of client's son
The background image needs to be resized and cropped to 1200 x 800 so it fits the 4 x 6 landscape layout size. We used IrfanView, a FREE photo viewing program with a ton of features, to do this. [Note: Paint.net can also be used to for this]
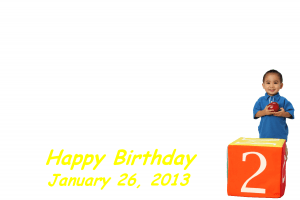
For the overlay image, we need create a transparent 1200 x 800 PNG image, and place the photo of the son in the bottom-right and add the text "Happy Birthday" plus the date.
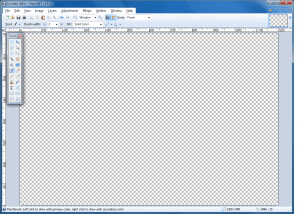
We used Paint.net to remove the white background color around the Son and Box. Use the Magic Wand tool to select the background, and press ctrl+X to cut the background away.Blank overlay image with transparent background in Paint.net
Create a new blank 1200 x 800 landscape image in Paint.net. Press ctrl+A to select the entire image, and ctrl+X to cut the selection so you are left with a transparent background.
Copy and paste the image of Son and Box in the bottom right of the blank overlay
Use the Text tool to add text for "Happy Birthday" and the date
Now select File > Save As and save the overlay as PNG type. Why not JPG? You cannot save the transparent background with JPG, and image is less "muddy" in PNG.
Finished overlay image with son photo, 'Happy Birthday', and date text
Next we opened SB Layout Creator and...
Open the layout selection list and select one of the READ ONLY Landscape WIDE layouts with 3 or 4 photos in it... [ ... 4 x 6 Landscape, Wide ]
Use the Clone Layout button to the right of the selection box (also on the top left) and Name this new layout something short and simple that relates to what you are doing.
Now you should be seeing a landscape wide layout with 4 photo boxes (all wide) and we only needed 3 so we Clicked on the #4 color box to select it and used the Delete Photo button (2nd btn next to Photo) to remove the extra photo we didn't need.
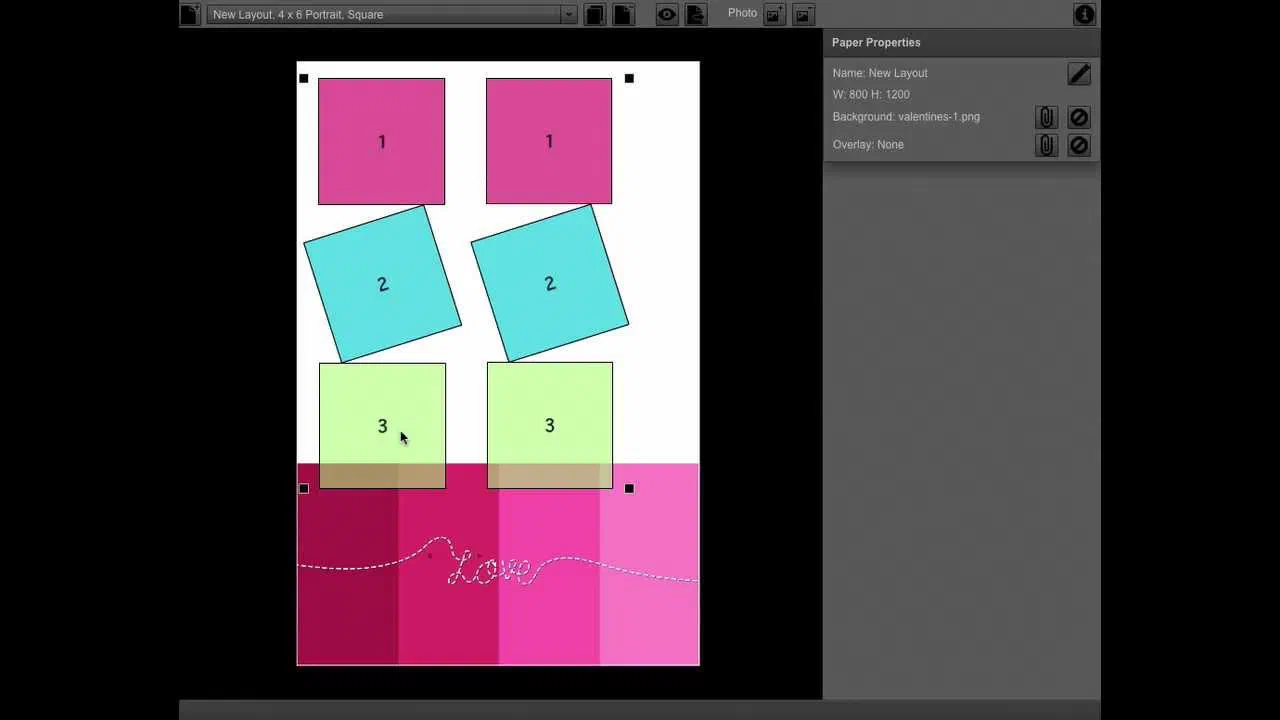
Here is where it could get tricky or confusing... How do I know where to place the photo boxes? The easiest way I have found is to add the Background image and then adjust the Photo boxes around it. See upper right area under Paper Properties and click the paper clip next to Background and go to the folder where you created & saved the background
You can now resize the photo boxes by clicking on one to select and grabbing one of the Black squares in one of the corners and draging to make larger or smaller. Under Photo Properties you can be more precise on your size.
At this point you should have your photo boxes sized and placed where they look just right for this new layout you are creating.
Now it's time to add our Overlay image... On the right side under Paper Properties click the paper clip next to Overlay and go to the folder where you created & saved the Overlay and select it...
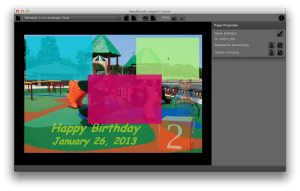
If one or more of the boxes need adjusting/moving do so by clicking on it to select it and adjust it where it fits just right for this new Layout...Layout in Sparkbooth Layout Creator
Press the Preview button (Eye icon) to test the layoutPreview of custom layout
Just to the right of the Preview button is the Export Layout button that will save your new layout as a SBL file that can be added to your Sparkbooth Photo Booth program.
Open Sparkbooth now
Press F1 for Settings
Select About Sparkbooth to make sure you have the latest version 3.6 or later will work but I suggest you Check for updates and download the latest version. John Updates so often with new features and you should stay on top of what is happing with your Sparkbooth program.
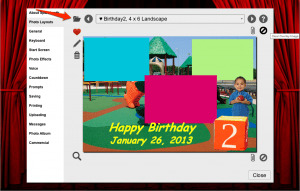
Next select Photo Layouts and what ever the last layout you were using will be there... but now you should see an icon on the top left that looks like a File Folder... Click it to go get that new SBL (layout) file you created...Imported Layout in Sparkbooth
If I didn't miss something here you should have the Basics of how to use the new Layout Creator program and adding Backgrounds and Overlays.
Good luck and post any Questions/Suggestions you may have and John will be here to help... and many of us other users too will be around